Data is one of your enterprise’s most valuable assets, and syncing data between systems is a crucial step in Adobe Commerce development.
Moving files in and out of a Magento instance can be a real pain-in-the-neck, especially when processing thousands of files within a cloud-based system like Adobe Commerce.
At Atwix, we are quite used to working with Adobe Commerce projects hosted on cloud infrastructure. Therefore, copying files between Adobe Cloud instances is a pretty common task for our teams. On any given day, we might be introducing storefront changes, working with myriad new media files on a pre-production instance, or delivering those sometimes-tricky files to the production environment.
As a certified Gold Adobe Solution Partner, Atwix follows the latest best practices when working with Adobe Commerce Cloud across all projects. In this article, we share tips and tricks for copying files between Adobe Commerce instances efficiently and in accordance with world-class best practices.
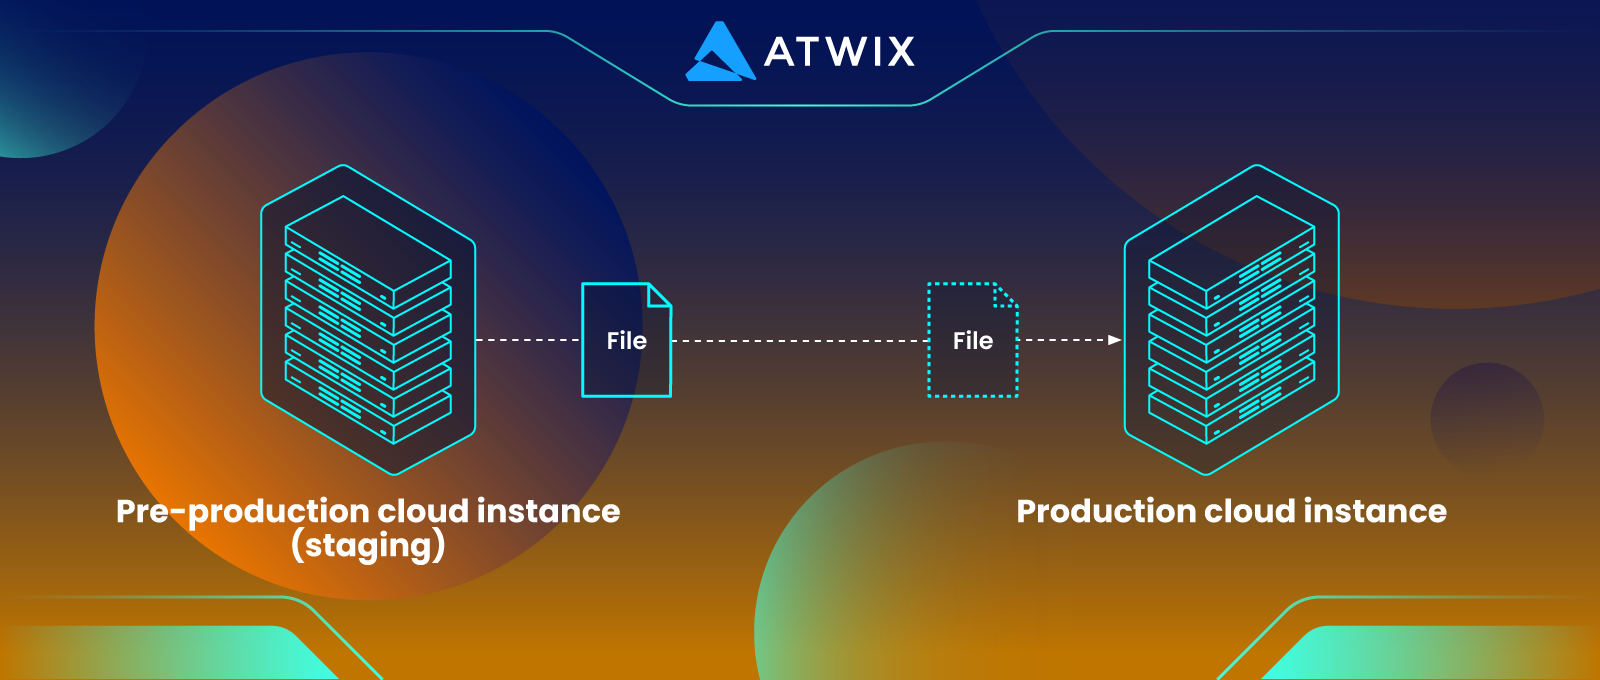
Imagine you need to copy a file from your pre-production cloud instance (staging) to production. Let’s look at a couple of methods for doing just that.

Method #1: The obvious solution
The most straightforward way to facilitate this data synchronization is to upload the file from a local environment (laptop), directly to the production instance, and – ta-da! – problem solved.
But what if the needed file exists only on a pre-production cloud instance instead of the local laptop?
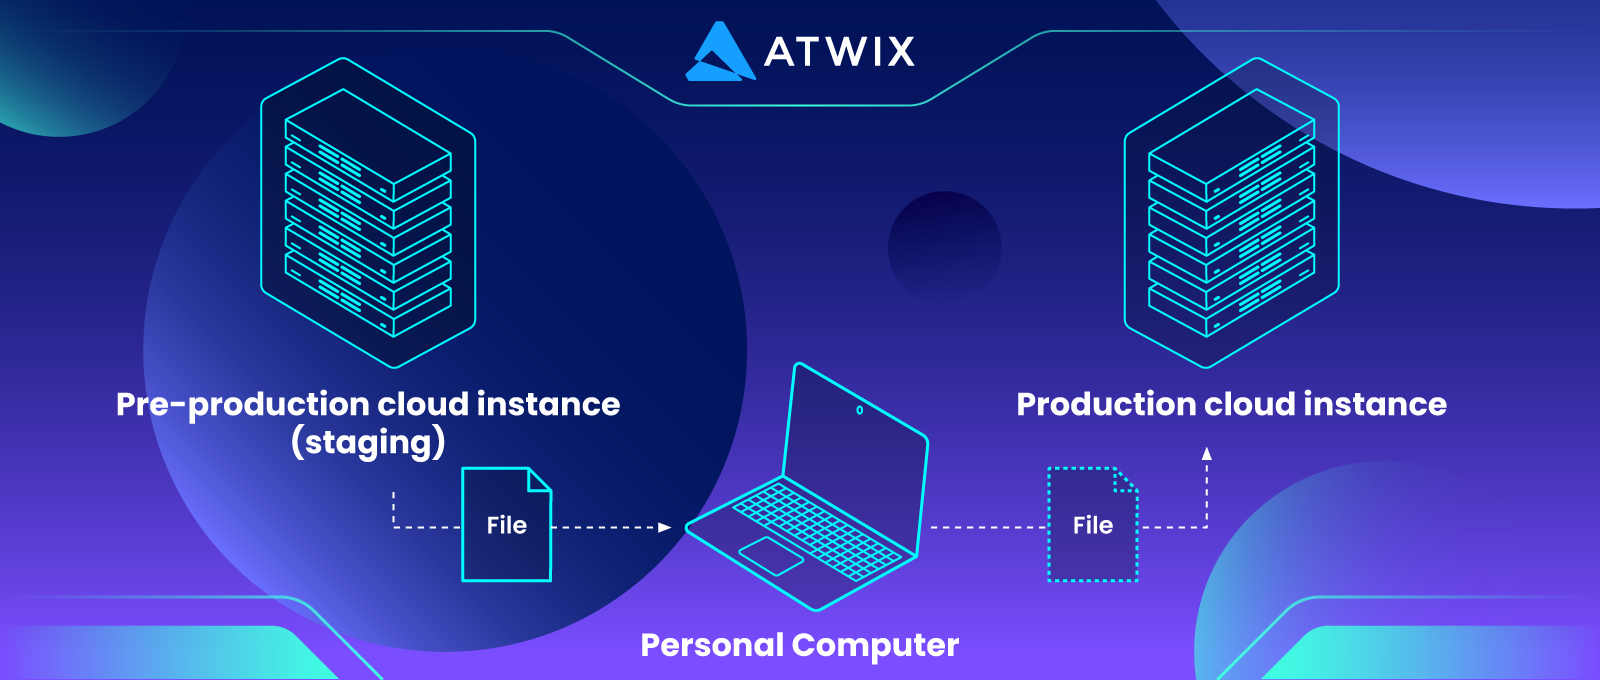
This is not a procedure many project support teams are readily familiar with. So, in many cases, they’ll go ahead and copy a file to their local computer, and then upload it to production.

This simple process is relatively easy, involving only two steps:
- Copy the file to your local computer from a pre-production cloud instance, then
- Copy the file from your local computer to the production cloud instance.
This is actually a fine approach that should work well if you have only a small number of files to transfer.
However, when synching hundreds or thousands of files, we need to take another approach – one that we favor quite a bit at Atwix.
Method #2: ssh agent forwarding
When synching hundreds – or even thousands – of files, we need to take another approach. One that allows you to copy a file from the pre-production instance, directly to the production one.
Use the following steps to set up SSH Agent forwarding.
First, run the command below on your local environment (working computer) to ensure your own SSH key is set up and working properly:
ssh -T git@github.comWhen the command is executed, you should receive a message similar to the following:
Hi gituser! You've successfully authenticated, but GitHub does not provide shell access.Next, you’ll need to allow Agent forwarding to your server, by editing the ~/.ssh/config file on your computer, and adding the host of your cloud instances.
For example, if the host of your cloud instance is ssh.us-5.magento.cloud, the changes that you need to add into ~/.ssh/config file will be the following:
## For Adobe Cloud instances
Host ssh.us-5.magento.cloud
  ForwardAgent yes
A word of warning: According to best practices, the following setup is highly discouraged:
## For Adobe Cloud instances
Host *
  ForwardAgent yes
Once agent forwarding has been allowed, you’ll need to ensure your public key is visible to ssh-agent:
ssh-add -LUpon entering the above command, the content of your public key should be returned, looking something like this:
ssh-rsa AAAAB3NzaC1yc2EAAAADAQABAAABAQC0kkNeWtkoy3bFJ2WBswObAZpp9xkNMNGQpTAPyxBUDj1HDgmGckJEhn67gTEyk2vgpsVCc0WNTtJ+84oHT2qsmezWjUXeaX++QpfetMrZ/wukxuepclMeedY1WLgDtsB1HPLMjYA2wlM2jUehy8l9p3IR6GmGosEgj+E9XMS6E3vLDWsoquBF0zoM3wBqZQrWwAnHdswy79PGiOs3UMXSin+6906Il3vDSOD1PtCfOGG5ZvWC3qa19508aYj26B3AYGFBLCFeRQys7SD+LJdDaaHyfB1YKiYqIUPehYU/603EeiiloIxi5PFUsD+BQf /Users/developer/.ssh/id_rsaOr, if you received the message, “The agent has no identities,” then you’ll need to execute the following command to add your public key to ssh-agent:
ssh-add -KNow, we’re almost ready to copy the needed file!
In our example, since we are attempting to copy a file from the pre-production instance (staging) to the production one, let’s connect to staging through the ssh, using an additional parameter in the connection string:
ssh -A staging-cloud–user@ssh.us-5.magento.cloudOnce this is completed, you may use the scp command to copy a file to the production instance:
scp pub/media/wysiwyg/my_file.png production-cloud–user@ssh.us-5.magento.cloud:/app/cloud-project-id/pub/media/wysiwyg/If you wish to copy the entire pub/media/wysiwyg folder, you may use the scp -r command:
scp -r pub/media/wysiwyg production-cloud–user@ssh.us-5.magento.cloud:/app/cloud-project-id/pub/media/or rsync:
rsync -avzh pub/media/wysiwyg production-cloud–user@ssh.us-5.magento.cloud:/app/cloud-project-id/pub/media/Summary
Hopefully, this short-and-sweet post has introduced you to an approach that allows you to synchronize files between Adobe Cloud instances without any intermediaries.
Utilizing ssh agent forwarding can drive meaningful efficiency when transferring many multiple files, to save you both time and resources during data sync.
Please share this post with those it may help. And let’s continue the conversation in the Comments section below – Tell us your tips, tricks, and methods for successfully synching data files between Adobe Cloud instances.
Need an expert consultation on Adobe Commerce Cloud?
Get in touch with us at Atwix and tackle all Adobe Commerce Cloud issues with a pro

